This post covers the basics of selecting the right material for beginner leatherworking, knowing what leather to use for each project and general characteristics of each type.
There are two main types of materials best for beginner leatherworking and all leather work for that matter. Vegetable tan leather which has ridged and shapeable/moldable qualities in its thicker sizes and chrome tan which is more of that soft flexible feel for bags, pouches, tool rolls and upholstery. Both have largely different uses, and we will learn what is best for you and your project.
I have a helpful guide that shows the best first tools for a beginner leatherworking tool kit that can be found below.
ENTER YOUR EMAIL BELOW FOR AN INSTANT DOWNLOAD RESOURCE GUIDE-BEGINNER LEATHERWORKING KIT-THE AFFORDABLE APPROACH TO THE 10 TOOLS YOU NEED THE MOST
VEGETABLE TAN LEATHER
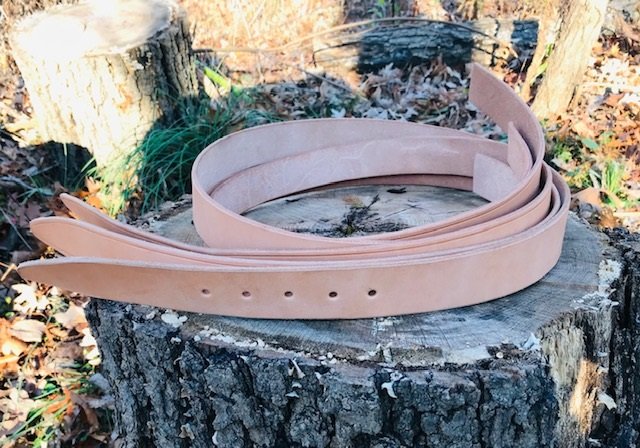
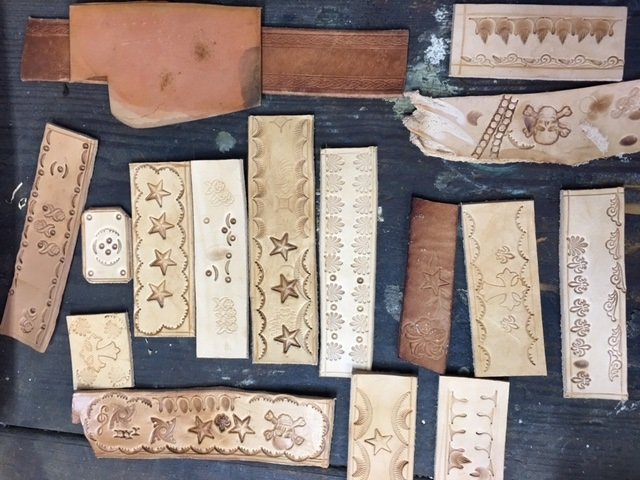
Vegetable tan leather is largely what your pioneer forefathers utilized in an age before synthetics and is still a viable choice today. When crafting your own items always look for the word full grain vegetable tan leather. This is the hide with the smooth durable outer layer and the fibrous inner layer intact. In this process the hair is removed, and the hide is processed with tannins from tree bark much like it was done for hundreds of years. The result is an off white to russet color with a sweet smell that signal a blank canvas for sheaths, holsters, belts, and relatively rigid pouches. Veg tan can be molded into a permanent shape that aids in retention and with the right design and thickness offers complete retention for knives and firearms. This leather also takes impressions when damp by way of stamps-shallow cuts and shaping tools.
Another cool aspect of beginner leather working is that with unfinished vegetable tan leather, you can use a varied of finishes and techniques to produce just about any look you want.
UNFINISHED VEG TAN LEATHER IT IS THE ONLY LEATHER THAT WILL EASILY ACCEPT STAMPS, DESIGNS AND THE LEATHER DYE OF YOUR CHOICE-CHROME TAN IS PREFINISHED.
ENTER YOUR EMAIL BELOW FOR AN INSTANT DOWNLOAD RESOURCE GUIDE-BEGINNER LEATHERWORKING KIT-THE AFFORDABLE APPROACH TO THE 10 TOOLS YOU NEED THE MOS
A LOOK AT CHROME TAN LEATHER
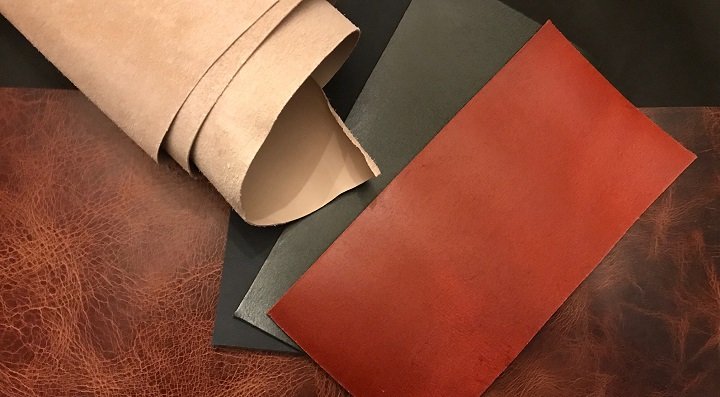
Chrome tan is the other major method for processing hides on a large commercial scale. It is also a fast and economical method for manufacturers who use chrome salts to produce what is typically a thin, flexible and soft leather used for gloves, garments, bags, jackets and the like. The color is added in during the process and this type of leather will not mold. take impressions or further color. This is not an issue since the use is entirely different than with veg tan leather and with most outdoor oriented leather workers using this for pouches and small bags. What is important for beginner leatherworking is the right thickness and feel-which we will cover.
2 OZ CHROME TAN GOAT LEATHER WITH A SOFT HAND (FIRST IMAGE). 3 OZ RED AND 5 OZ BLACK CHROME TAN LEATHER BOTH WITH A SOFT HAND-ALL SUITABLE FOR BAGS AND GARMENTS.
OIL TAN AND LATIGO
Oil tan and latigo are just variants of veg and chrome tan. These are prefinished so they don’t lend themselves to stamping or colors of your choice. Oil tan comes in a wild and cool variety of colors and effects, distressing is common. Oil tan ranges from thin and flexible to thick and somewhat stiff. Latigo, mainly in earth tones is often a thicker, stiffer type leather often used in equine, tack, straps and belts.
FIRST IMAGE ABOVE SHOWS A 4 OZ MEDIUM FIRM OIL TAN LEATHER (YOU CAN SEE IT CREASE RATHER THAN EASILY FOLD. SECOND IMAGE IS A 3 OZ SOFT/MEDIUM OIL TAN SHOWING ONE OF THE BEATUIFUL QUALITIES OF OIL TAN, ITS VARIATION OF COLOR WHICH CAN BE ACCENTUATED WITH BENDING AND FOLDING. THE MORE FIRM LEATHER WOULD MAKE A GOOD SMALL CASE WHILE THE SOFTER A POUCH OF SOME SORT.
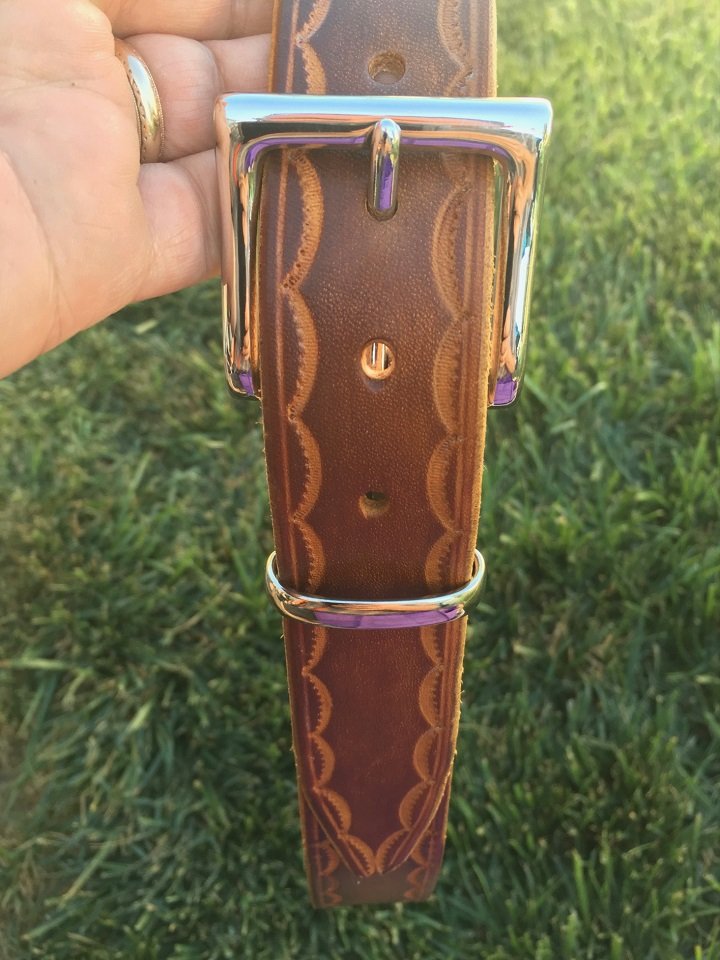
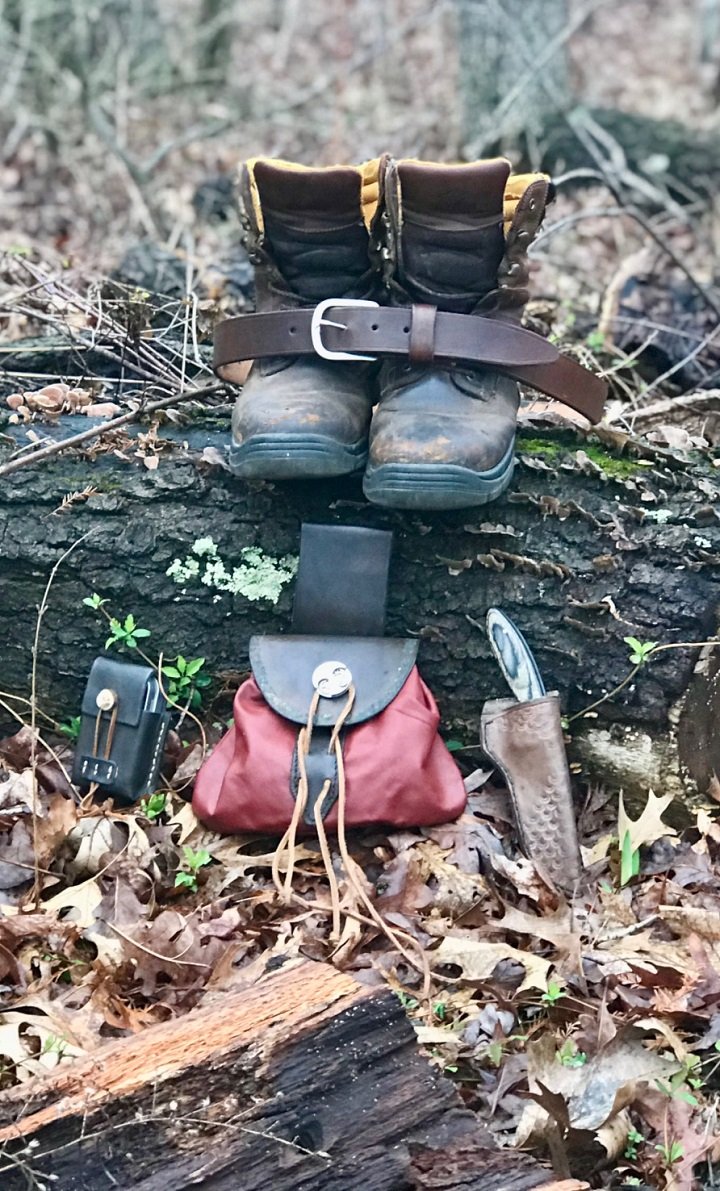
THE SPORRAN PICTURED CENTER USES BOTH FLEXIBLE 3-4 OZ CHROME TAN LEATHER WITH A SOFT HAND (RED LEATHER) AND FIRM 5 OZ VEG TAN FOR THE BELT LOOP AND FLAP (DARK LEATHER). THE BELT-KNIFE SHEATH-ALTIOIDS TIN CASE ALL STARTED AS UNFINISHED VEG TAN AND THE BOOTS ARE OIL TAN
HOW TO SELECT THE RIGHT THICKNESS AND LEVEL OF FLEXABILITY FOR YOUR PROJECT
Buying leather online without seeing it can seem daunting, I have a downloadable guide that gives you some of the best sources I have found for leather, companies you can call and talk to a real person if needed. This instant download also shows all the tools you need for a beginner leatherworking kit in the most affordable manner possible.
Leather is sized in ounces per square foot-don’t worry others have done the math for you and converted this over into actual measurements as well. Although for the beginner leatherworker keeping things in ounces rather than muddying it up with fractions and math is appealing. Once you have made a purchase or two you will start to get the hang of the thickness you need. Chrome tan leather also goes by ounces, but another dimension is added in the feel/stiffness/flexibility known as “hand”.
FLEXABILITY OR HAND
For beginner leatherworking it may seem complex to add in another element but it’s just talking about the feel or flexibility. Let’s take a 4 ounce chrome tan leather which is about as thick as a dime. You could use this for a small drawstring bag and want a flexible feel to it or “soft” hand. A notebook cover or chair arm you might want a medium hand. That same thickness on a small case meant to hold its shape you would want a “firm” hand.
So soft, medium soft, medium, or firm are the words you want to look for on chrome or oil tan leather made for or sometimes referred to as bag leather.
THICKNESS AND USES
A basic rule for thumb is that for every ounce a square foot leather measures 1/64 of an inch. The accompanying chart does a better job at describing what is needed for each type of project. Typically, leather will not be listed as a singular “7 ounce” it will instead be listed for sale as 7-8 ounce because leather is a natural material and some variation in each hide is to be expected. The most consistent are the thinner pieces that have been split meaning some of the thickness has been mechanically sheared away but even then, it is just an approximation.
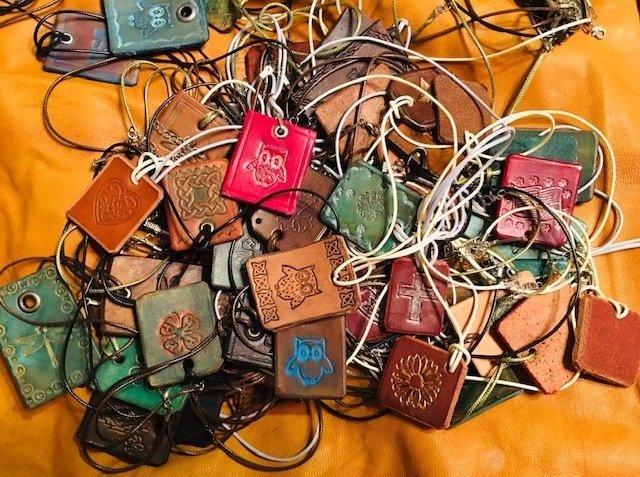
SHAPES SHOWN ABOVE ARE A GREAT INTRO TO BEGINNER LEATHERWORKING. ALLOWING YOU TO FOCUS ON THE DESIGN AND FINISH. GREAT FOR WORKING WITH KIDS.
BY THE PIECE-BEST SIZES AND SECTIONS TO PURCHASE FOR YOUR FIRST BEGINNER LEATHERWORKING PROJECT
Here are some good options/sizes/pieces to look for when selecting material for beginner leatherworking. It can be broken down into the following.
Kits which supply a precut and pre punched leather of the exact size needed. Great for kids and anyone just starting out or even more advanced. Time saver that allows you to focus on other aspects of beginner leatherworking.
Blanks like coasters-key chains-various shapes, animals, bracelets, all great family, or group projects.
Belt Blanks-typically (not always) have the buckle end cut out and punched. You size it and add in the holes for the buckle.
Strips-various strap and belt sizes with no holes pre punched. If you buy and cut a larger section yourself a strap cutter is needed.
By the square foot-affordable for small projects. I have two courses for beginner leatherworking that utilize a square foot to complete the entire project.
Shoulder-this is a popular and affordable piece of leather that you can get several projects out of. One of my favorites for 5-7 ounce leather.
Belly-bargain leather and a good buy for practice and multiple projects-only caution is these are usually 8-14 ounce, and that thickness will vary wildly, it will have many softer folds and unusable areas but still a good way to start out. Kids love to stamp designs in leather, and this gives you lots of leather for low dollars.
Single and double bends are consistent in shape, and you avoid paying for the marginal areas of the hide.
Sides (half a hide) and double shoulders you will have some cutting and squaring up, some marginal areas but these trimmings can be used for scrap-practice-small projects that abound when starting out or leathercrafting with kids.
Whole hides are usually smaller goat or sheep skins intended for garments and bags.
GRADES OF LEATHER
The two most important things to remember for beginner leatherworking are that leather is a natural material and once finish most of the will be concealed. Leather is graded for variation-blemishes-imperfections. This does come into play when you have a specific job or product in mind-some things you certainly want less surface issues-with others it does not matter. I think (in most cases) the beauty of leather is in the variation. When I am making a plain belt, I need fewer blemishes. If I plan on embossing and antiquing the surface that will hide many things. If you are OCD you will be paying more for higher grades with less blemishes.
One of the most common variations is stretch marks that you can see and feel showing as lines running across the hide. Depending on the project they may not be that noticeable once stamped or carved. I like working with or around natural issues, scars, tick bites and brands that can look cool on certain projects.
NEXT STEPS
Leatherworking is a fun hobby and hopefully this article has taken some of the mystery out of beginner leatherworking and purchasing leather for your next project. Be sure to check out my free instant download that shows the tools, sources, handling, and safety tips needed for beginner leatherworking kit. Beginner Leatherworking Kit, The 10 Tools You Need To Get Started, Shaping, Stamping, Cutting.
ENTER EMAIL BELOW FOR A FREE INSTANT DOWNLOAD RESOUR GUIDE-THE TOP 10 TOOLS FOR A BEGGINER LEATHERWROKING TOOL KIT
I also have complete start to finish leatherworking classes on the OutdoorCore Online Learning Platform. These show every conceivable step of a project from start to finish saving you time and money while giving the results and learning opportunity of a private lesson. Yep, you can learn every step for about the price of a burger and fries. Check it out and feel free to contact me with any questions.

